The Complete Guide to Animating Dynamic Characters in DAZ Studio
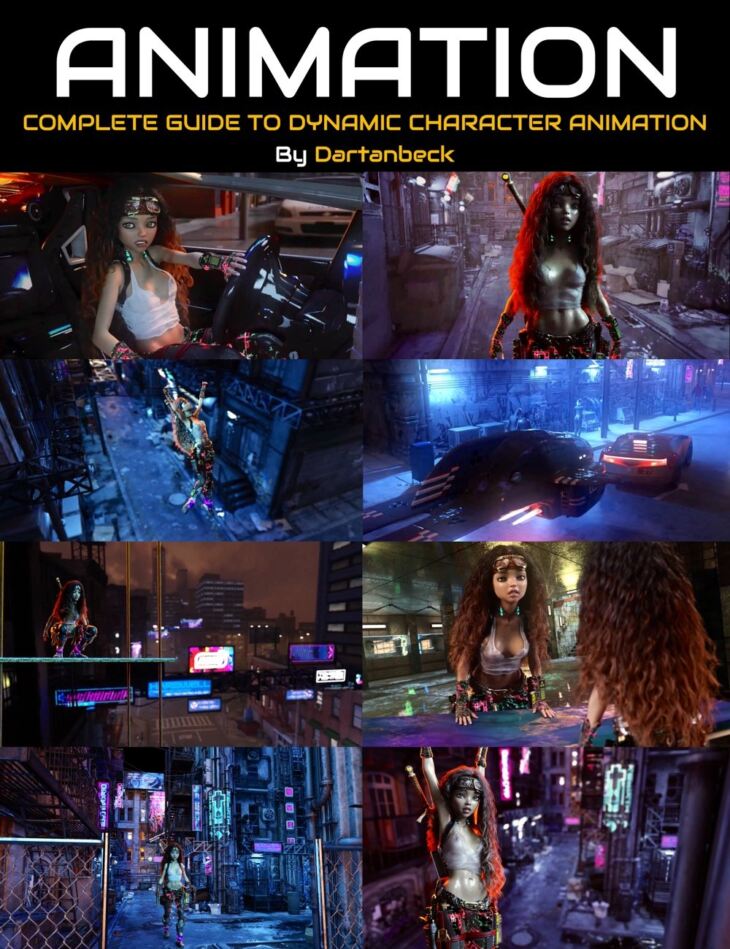
The Complete Guide to Animating Dynamic Characters in DAZ Studio is a tutorial created by Dartanbeck Digital Art Live and published on Daz 3D. Inside the archive you get 82 items, including The Complete Guide to Animating Dynamic Characters in DAZ Studio, Video 0 : Introduction : 8 minutes (.MP4): Who this course is for, Required : aniMate2.
Daniel Beck (Dartanbeck) has created extraordinary results with animating DAZ Studio characters! For the first time he shares in detail his complete animation workflow in this tutorial set. Dartanbeck has created a proven roadmap to get the very best out of aniMate2. He’s produced a series of cool techniques and tricks including custom animation helper controls. He’s curated the best aniBlocks and animation scripts to make the workflow easier. Once you’ve learned Dartanbeck’s system you will be able to leverage the wonderful array of native DAZ Studio figures and content in your own animations. In Part One Daniel provides the complete process of dynamic character animation. Part Two is made up of step by step courses for each topic covered in Part One. In short, it contains finer detailed lessons for everything shown in Part One. “It is my hope that this will provide the highest quality learning experience I can give you. Each subject of the entire course will be right at your fingertips along with the run-through to vividly illustrate the flow of animating characters in DAZ Studio.” This tutorial set includes 11 MP4 videos at 1920 x 1080 full HD resolution. Required for this Course aniMate2 is a key part of the workflow demonstrated in this course and is required. Total Tutorial Set Duration 4 hours and 30 minutes Tutorial Content Overview Introduction – Course introduction and notes – Demo animation of Rosie 8 : an example of what you could create! Part 1 : Complete Workflow – Start by understanding the basics and determining what the character is doing. – Use aniBlocks to select and apply animations, introducing the 30 Frame Buffer Zone. – Ensure fluidity in the workspace by adjusting mesh resolution. – Set the perspective view to see the entire animation. – Add a Sub Track in aniMate and set proper Sub Track settings. – Go back and forth between aniMate and the Timeline for effective editing. – Apply changes to the animation where necessary. – Create a custom aniBlock collection for convenience. – Work with partial aniBlock sub-frames and decide whether blending is required. – Time out the changes for Sub Tracks. – Incorporate facial aniBlocks and understand face control for FACS movements. – Use custom partial pose dials and aniBlocks for Genesis 3 and 8 Face Controls . – Check and review the animation within aniMate before proceeding. – Save the progress at appropriate intervals. – Transition to the DS Timeline by baking the animation. – Utilize advanced view in the Timeline and understand the 30 Frame Buffer Zone. – Adjust keyframe interpolation types to refine the animation. – Develop muscle memory habits for working with the Buffer Zone. – Master the selection of keys in the DS Timeline for easier editing. – Use the Hierarchy in the Timeline as a guide for adjustments. – Fix any issues and fine-tune custom pose changes in the Sub Track. – Pay attention to dForce problem areas and experiment with tweaks to enhance the animation. – Continues through the processes of dForce cloth and hair simulations, rendering, and working with the final render in post. Part 2 – About Dartanbeck’s Custom Pose Dials and how they help the animation workflow – How to create Custom Pose Dials quickly and efficiently – An Animator’s Base Scene and how this saves time in the workflow – Creating Custom Wearable Presets – Creating Partial aniBlocks – Converting Animations from Other Generations of DAZ 3D Figures – Bonus – Animated Backplate Rendering – Bonus – Car Chase Piranha vs Nemesis – Behind the Scenes Learn More about the Course in this Introductory Video About the presenter : Daniel Beck Dartanbeck began his Digital Art journey by painting game tiles for tabletop fantasy games. He then became a texture artist for 3d game characters for a world-wide gaming community from which he has received several Hall of Fame awards. This immediately sparked his desire to create digital animations in the form of movies or shorts and has been dedicate
What’s included
- The Complete Guide to Animating Dynamic Characters in DAZ Studio
- Video 0 : Introduction : 8 minutes (.MP4): Who this course is for
- Required : aniMate2
- About dForce, keyframes and aniBlocks in this course
- About custom tools
- Genesis 3 and 8 face controls
- About Dartenbeck
- Advantages of native animation in DAZ Studio
- Video 0-1 : Rosie 7 Animation Demo : 3 minutes (.MP4)
- Video 1-1 / 1-2 / 1-3 : Dynamic Character Animation Workflow : 30 + 38 + 48 minutes (.MP4): Getting Started
- What’s the Character Doing?
- Select and Apply aniBlocks (I explain the 30 Frame Buffer Zone later)
- Workspace Fluidity with adjusting the Mesh Resolution
- Set Perspective View to see the entire animation
- Adding a Sub Track in aniMate
- Adding a Buffer Zone for dForce (explain Buffer Zone)
- Set the proper Sub Track SettingsHow and Why
- The Importance of Going Back and Forth between aniMate and the Timeline
- Where to Apply a Change to our Animation
- The Importance of Creating a Custom aniBlock Collection.
- Working with Partial aniBlock Sub Frames
- To Blend or Not to Blend
- Timing out the Change (for Sub Track)
- Add Facial aniBlocks
- A word about Face Control for FACS movements
- Custom Partial Pose Dials and aniBlocks for Genesis 3 & 8 Face Controls (DAZ 3d product)
- Working with and Editing Custom FACS aniBlocks with the rest of the Animation
- Check everything while we’re still in aniMate
- Perfect Time to Save!
- This has all been pretty straight forward so farnow we really Dig In!
- Bake to DS Timeline
- Getting Back to aniMate if we need to
- Setting the Timeline to Advanced View
- Understanding the 30 Frame Buffer Zone. What to Delete, What Not to, and How
- Key Frame Interpolation TypesHow they Work and Why we need to make a change
- Our new Buffer Zone Muscle Memory Habits
- We’re in the Timeline nowLet’s Make this motion Our Own!
- Work Out the Sub Track Transitions
- An example of Failure, and how to fix it
- Using Collapse to Isolate what we Edit
- Using Selection Highlights to determine What to Select
- Let’s become Pros at Selecting Keys in the DS Timeline
- Tips on making the DS Timeline easier to work in with Working Examples
- Dealing with Odd times when keys Cannot be Deselected
- Use the Buffer Zone to Transition into a dForce Simulation
- Set the Transition Interpolation Type
- A Warning about the TCB Interpolation and Pasted Keys
- All Animation Software has “Specific Things” to get used toDon’t get Put Off
- Using the Hierarchy in the Timeline as a Helpful Guide
- Finding Specific Adjustments within the Hierarchy
- Let’s work out our Custom Pose Change from the Sub Track
- Ooops. Houston, we have a Problem! Let’s Find it and Fix it
- Now that we’re Key Selecting Pros, Let’s Practice Now
- Let’s make this intro Pose Look Better
- Custom Pose Helper Dials – Aren’t They Awesome?
- I liken this to Using the Graph Editor Without Using the Graph Editor
- Transitioning To and From our Changes
- Scrubbing Dials to Hold their Position
- Asymmetrical Transitions and Changes
- Work out the Custom Pose at the Most Crucial Spot
- … and 22 more items in the archive.
Specifications
- Source: Daz 3D
- Software / install: DIM Manual Install
- SKU: 90781
- Artist: Dartanbeck Digital Art Live
The file is mirrored on 9 hosting services; a free account is required to download.